Solar Panel Installation Process
Installing solar panels is a multi-step process that requires careful planning and execution. Here's a step-by-step guide to help you understand the solar panel installation process from start to finish.
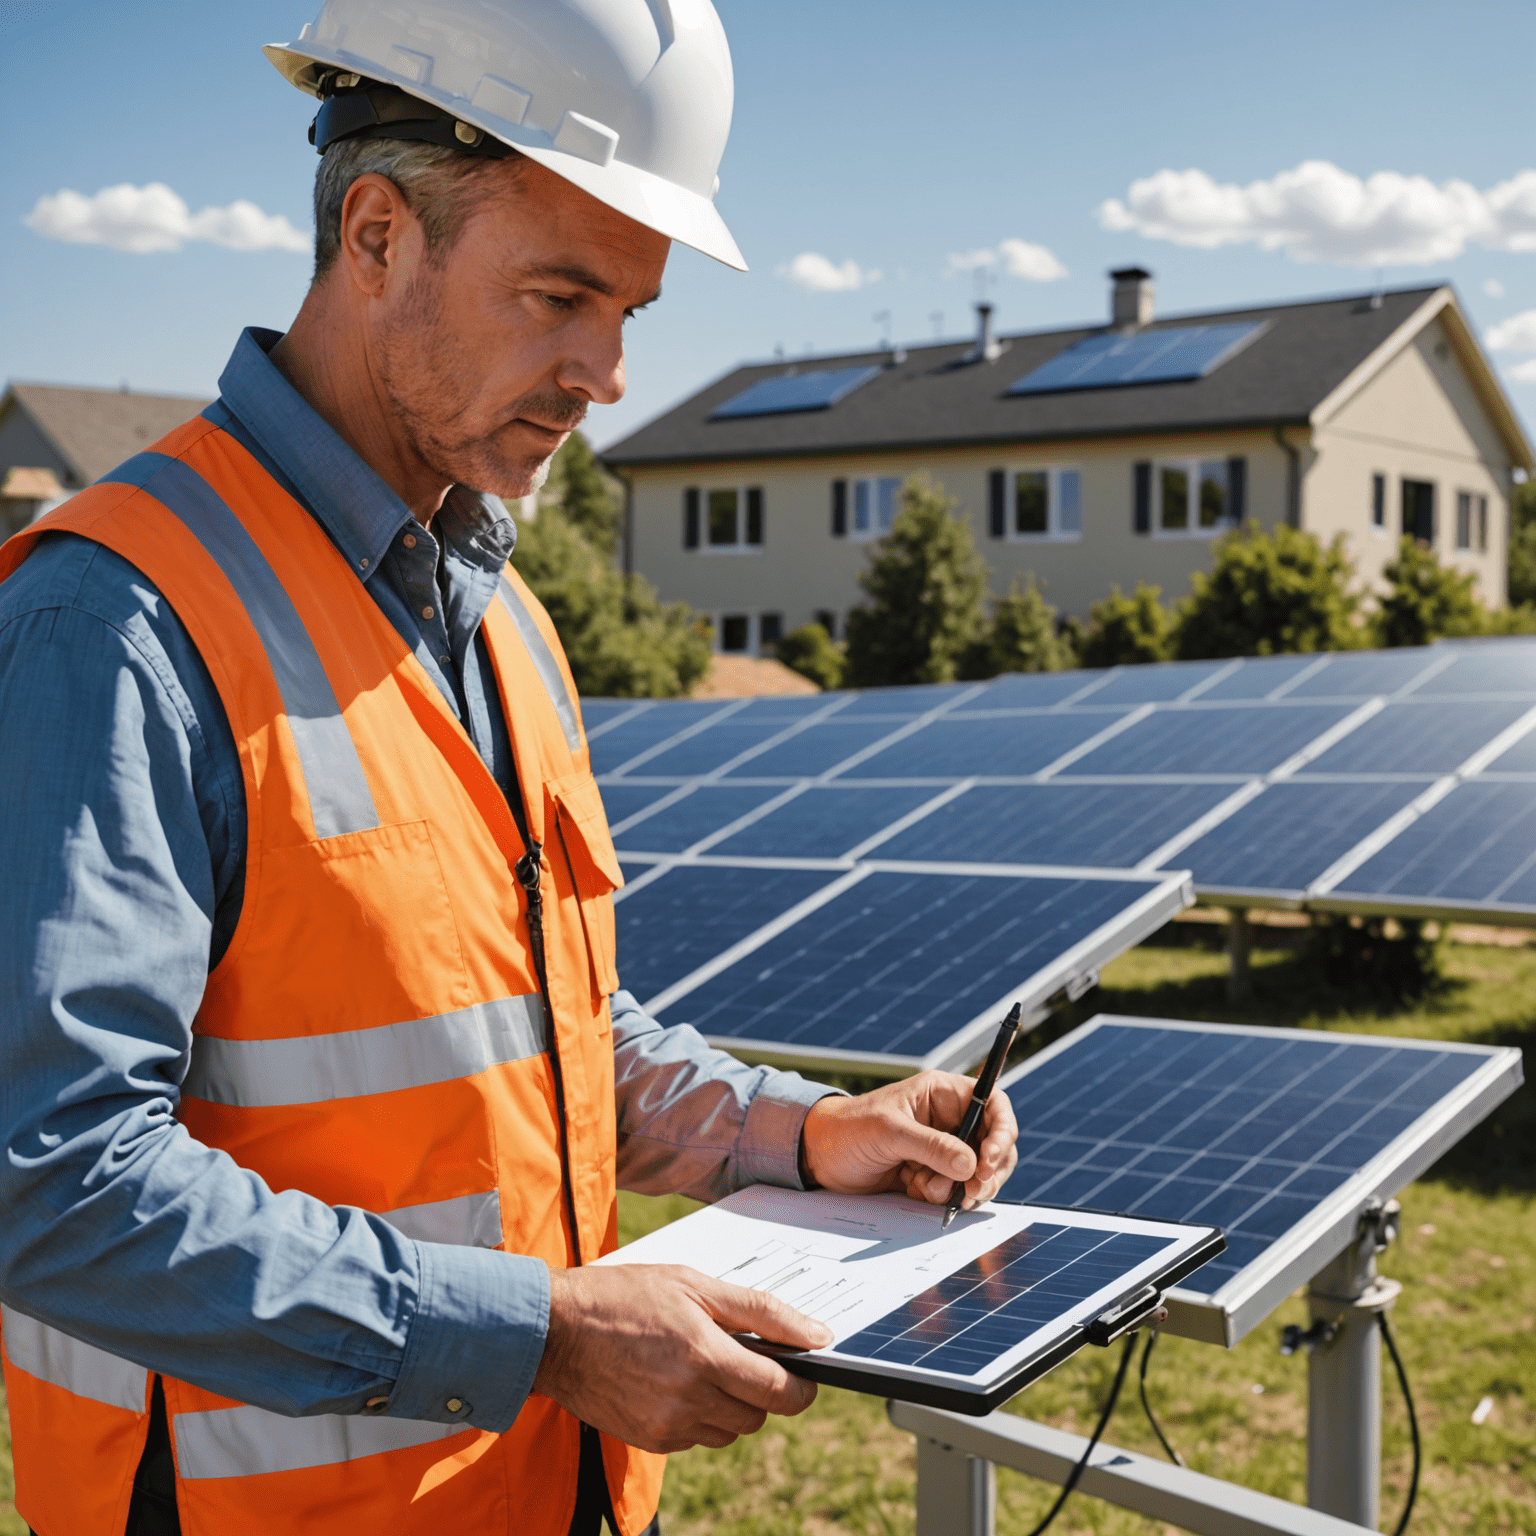
1. Site Assessment
The first step is a thorough site assessment. A solar professional will visit your property to evaluate your roof's condition, angle, and sun exposure. They'll also check your electrical system and determine the best placement for the solar panels.
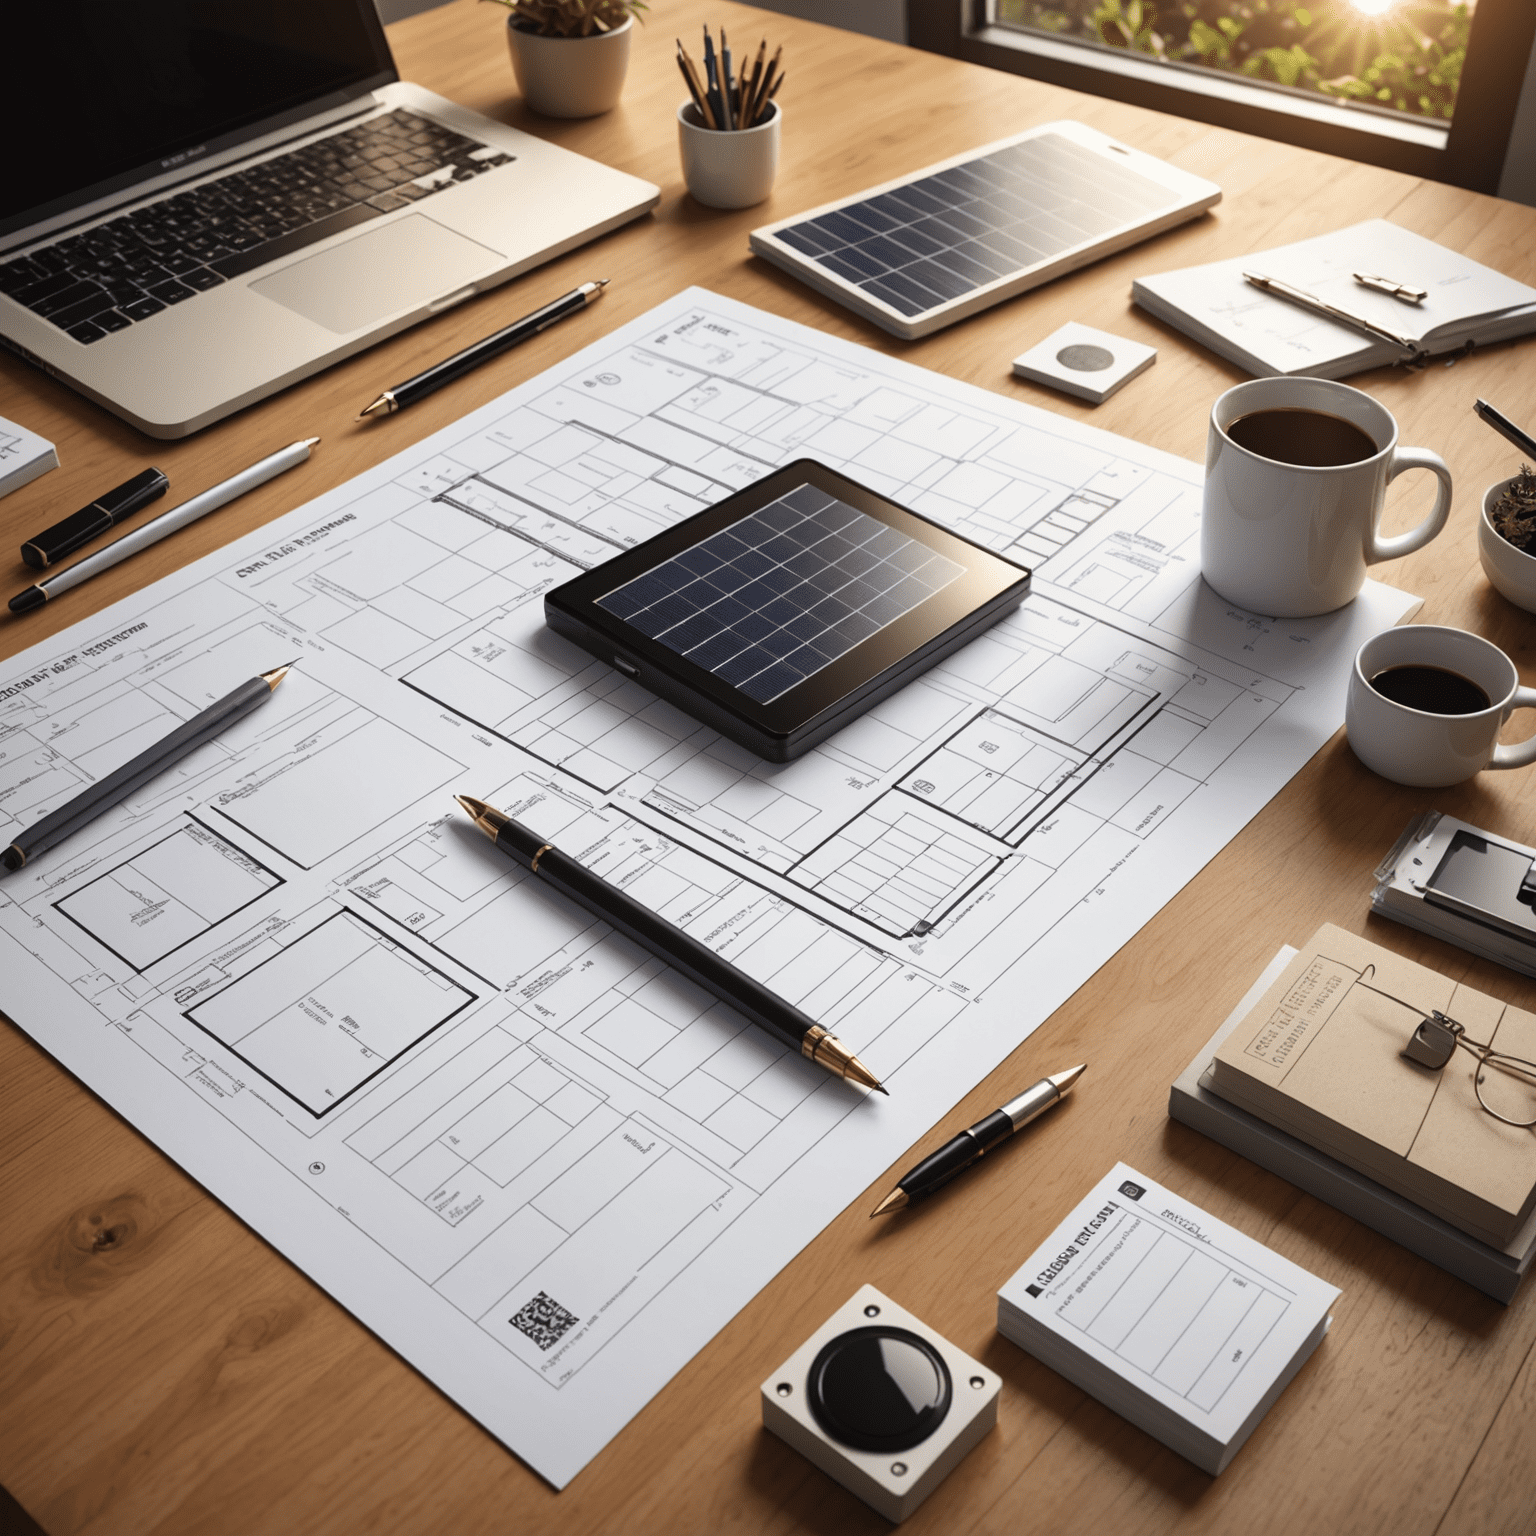
2. System Design

Based on the assessment, a custom solar system will be designed for your home. This includes determining the number and type of panels, inverter specifications, and overall system size to meet your energy needs.
3. Permitting
Before installation can begin, proper permits must be obtained. Your installer will handle this process, submitting the necessary documentation to local authorities and utilities for approval.
4. Equipment Procurement

Once the design is finalized and permits are in hand, the equipment is ordered. This includes solar panels, inverters, mounting hardware, and other necessary components.
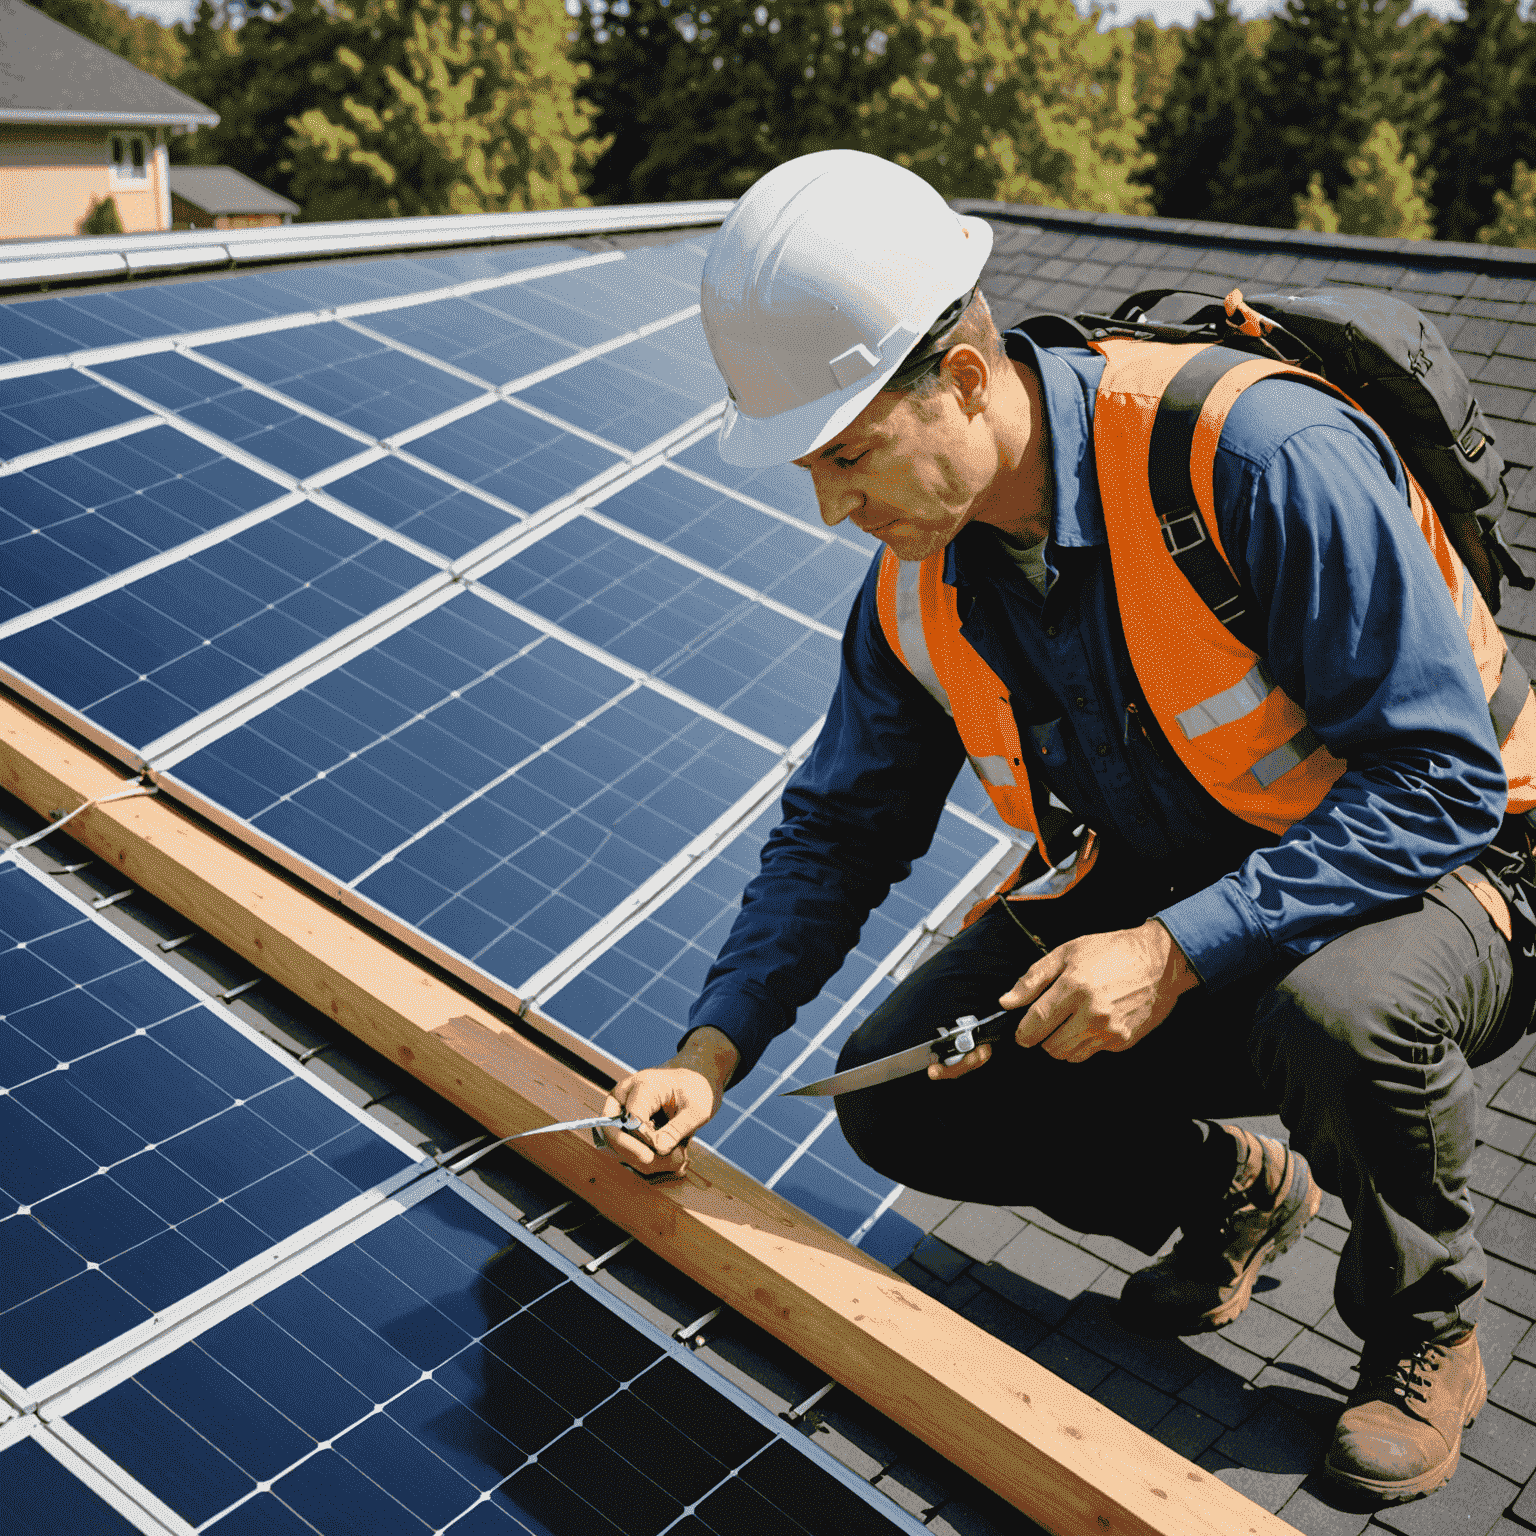
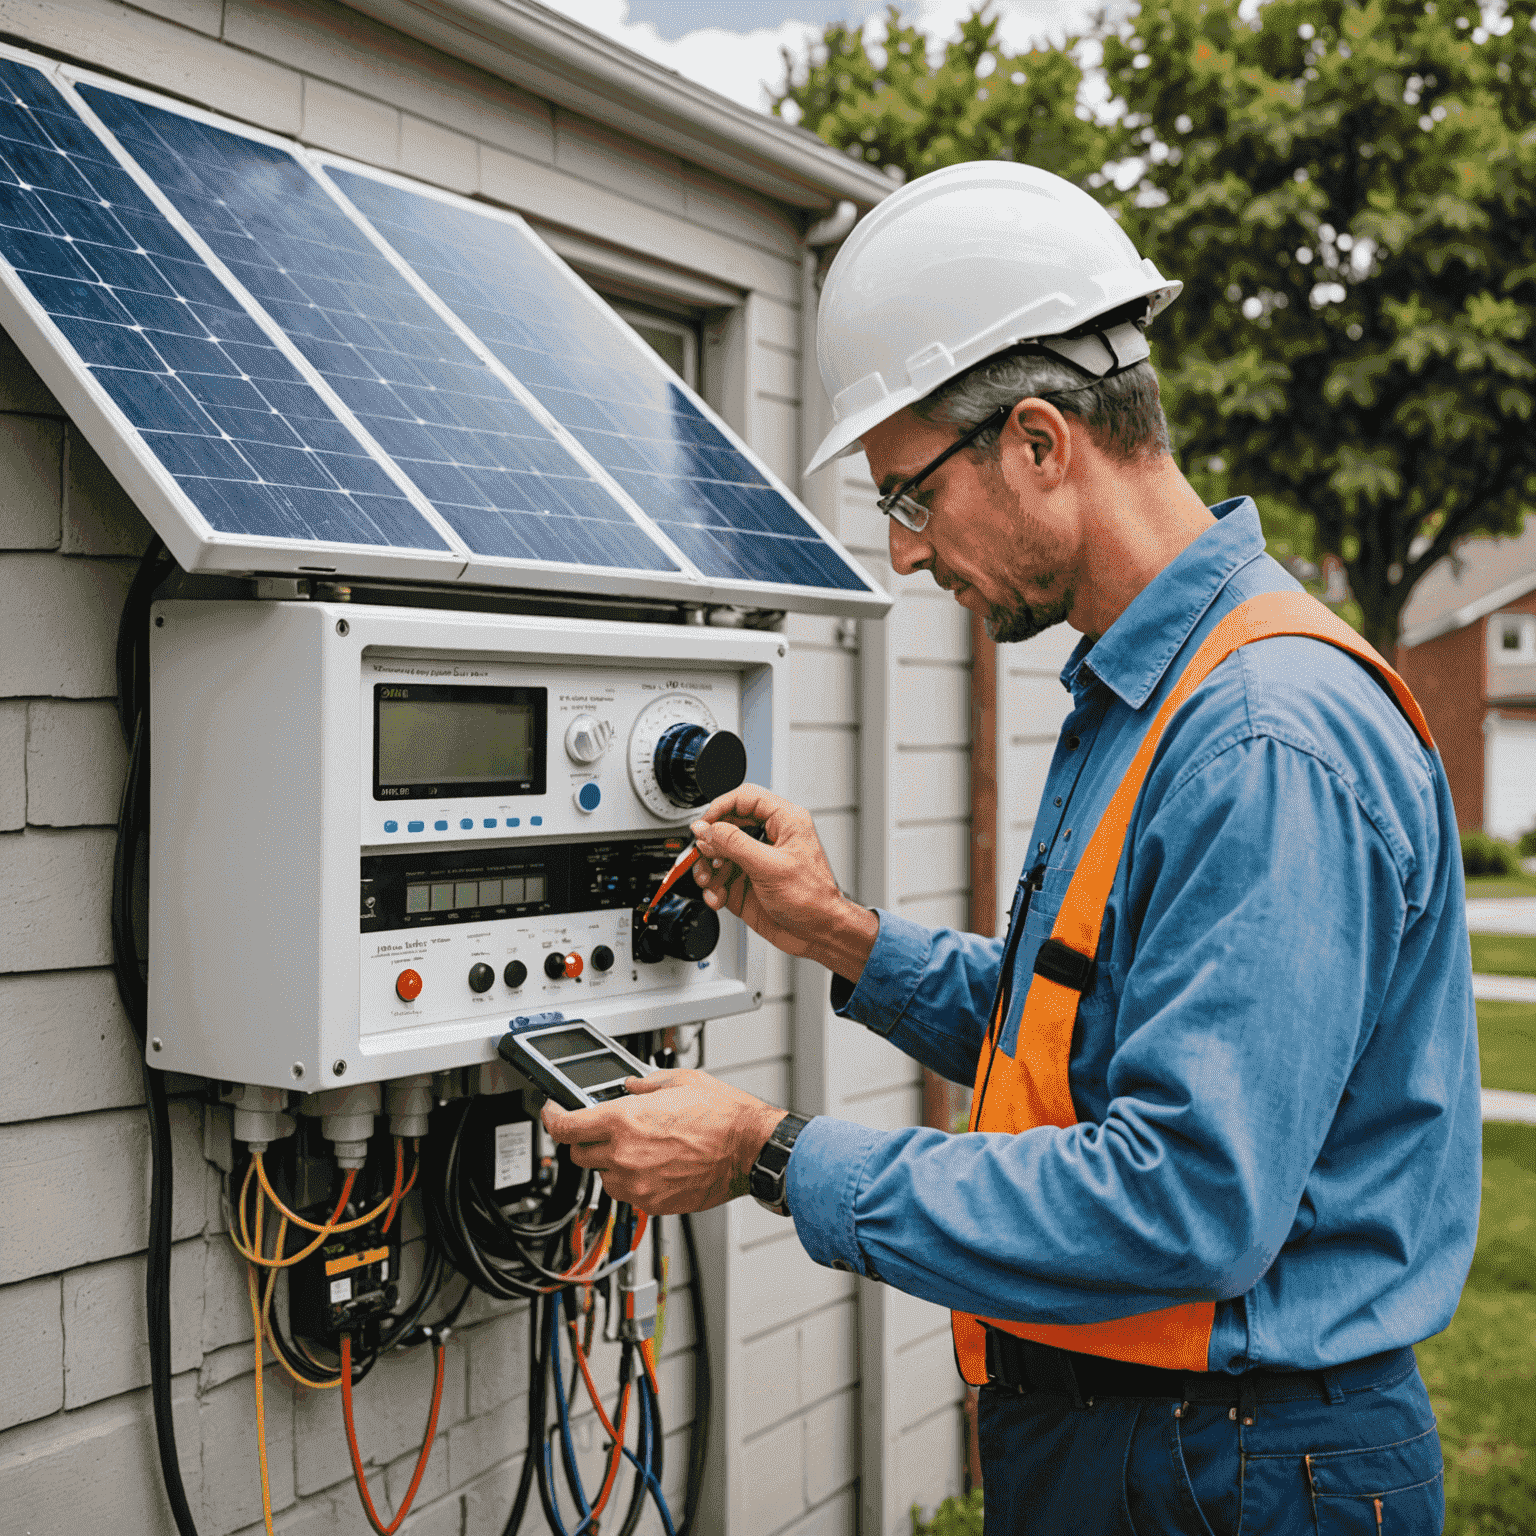
5. Installation
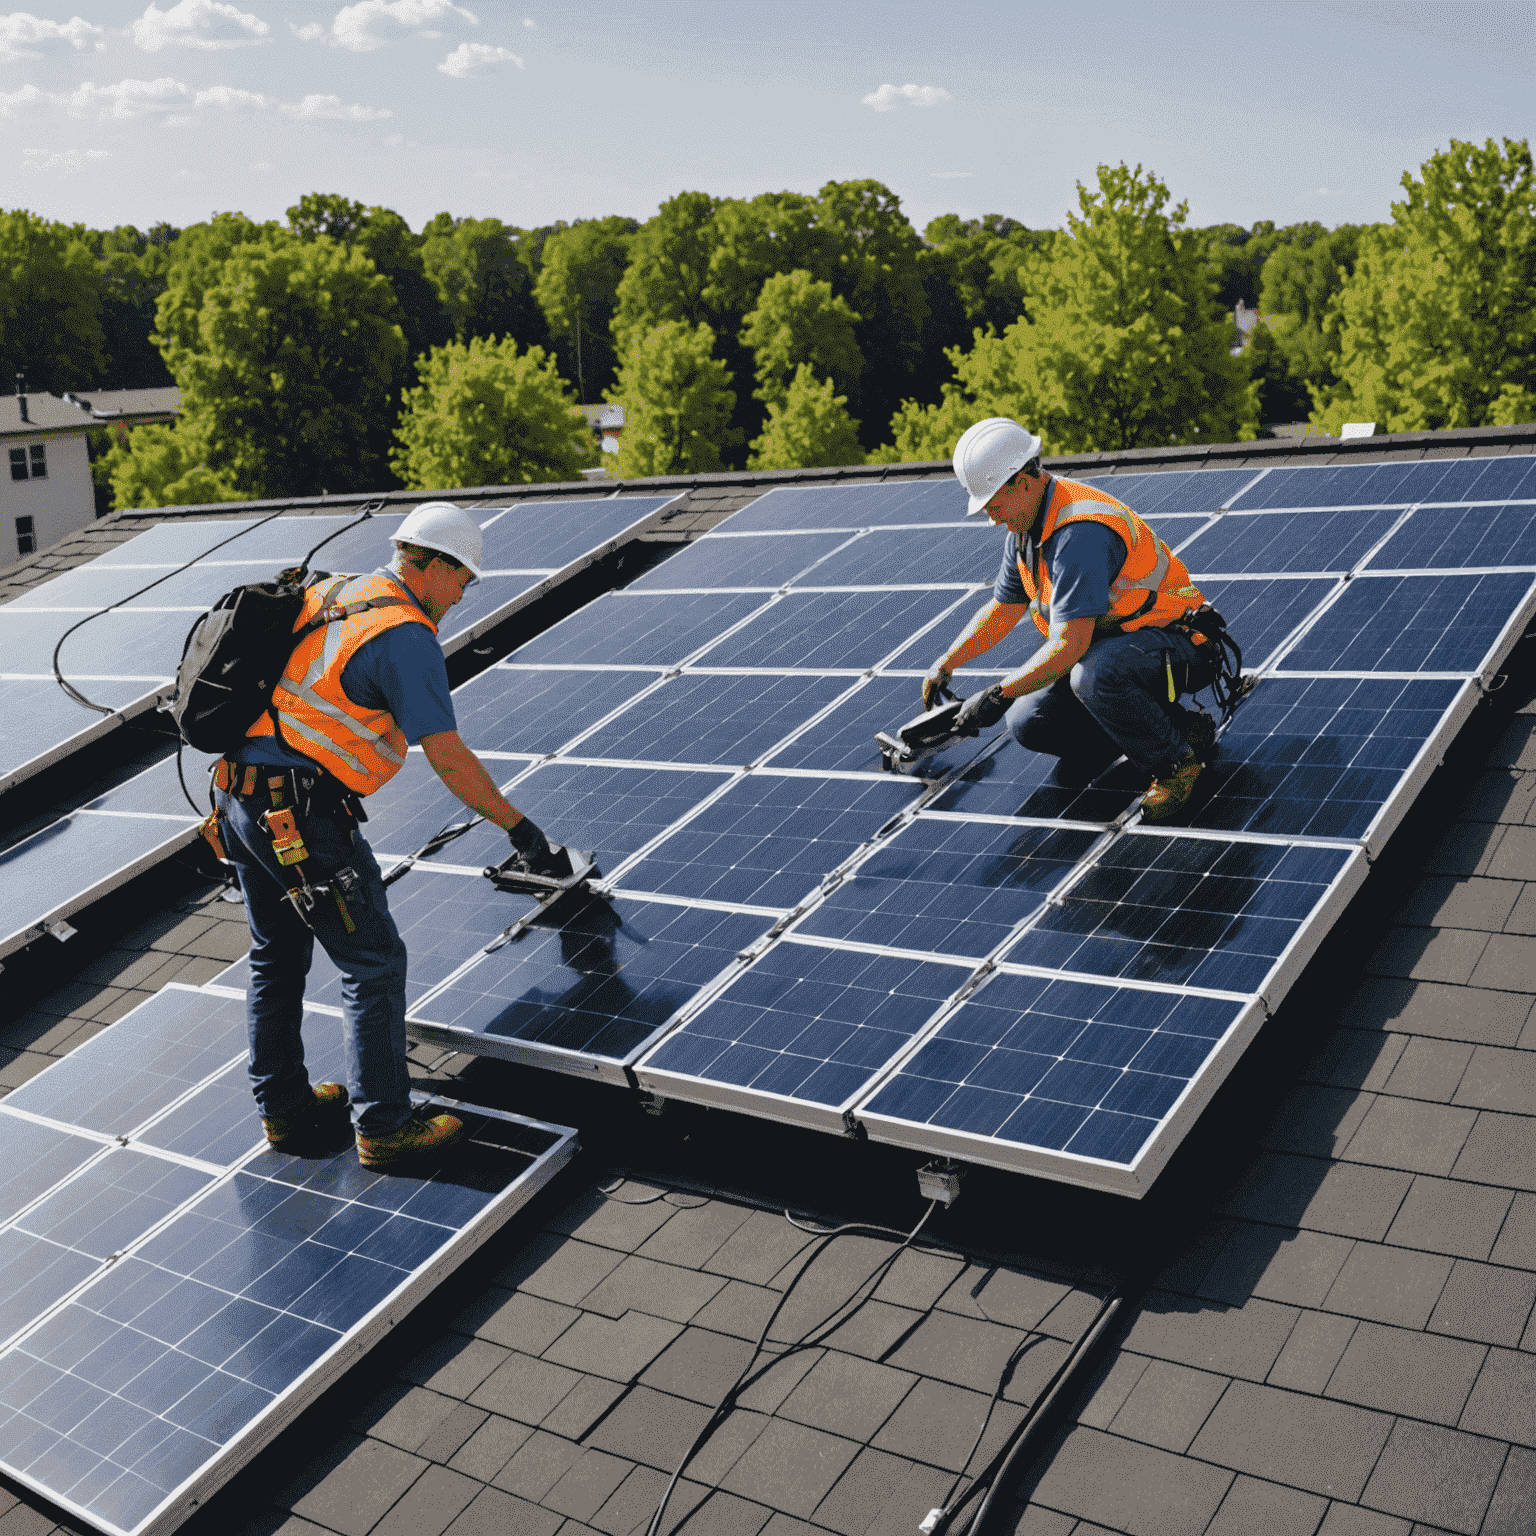
The installation day arrives! Technicians will mount the racking system, place the panels, install the inverter, and connect the system to your home's electrical panel. This process typically takes 1-3 days, depending on the system size.
6. Inspection
After installation, a local inspector will review the system to ensure it meets all electrical and building codes. This step is crucial for safety and proper operation.
7. Utility Connection
Once approved, your utility company will install a new meter or reprogram the existing one to enable net metering. This allows you to feed excess power back into the grid.
8. System Activation

The final step is activating your solar panel system. Your installer will walk you through how to operate and monitor your new solar energy system, ensuring you're ready to start generating clean, renewable energy.
Ready to Start Your Solar Journey?
Noww that you understand the installation process, you're one step closer to harnessing the power of the sun. Remember, working with experienced professionals ensures a smooth and efficient installation of your solar panel system.